|
The Pocket Cruiser model was officially scrapped over the summer. After a second attempt at building the boat out of thin plywood following the paper model was filled with lessons, all pointing at the model being junked.
I realized that crucial structural elements are not in the paper model for obvious reasons, but need to be there for the wood model. Now I know how important those are, and it only cost me about $60. I have moved on, and don't regret the time and money spent on this exercise. Now to focus on which boat to build...
0 Comments
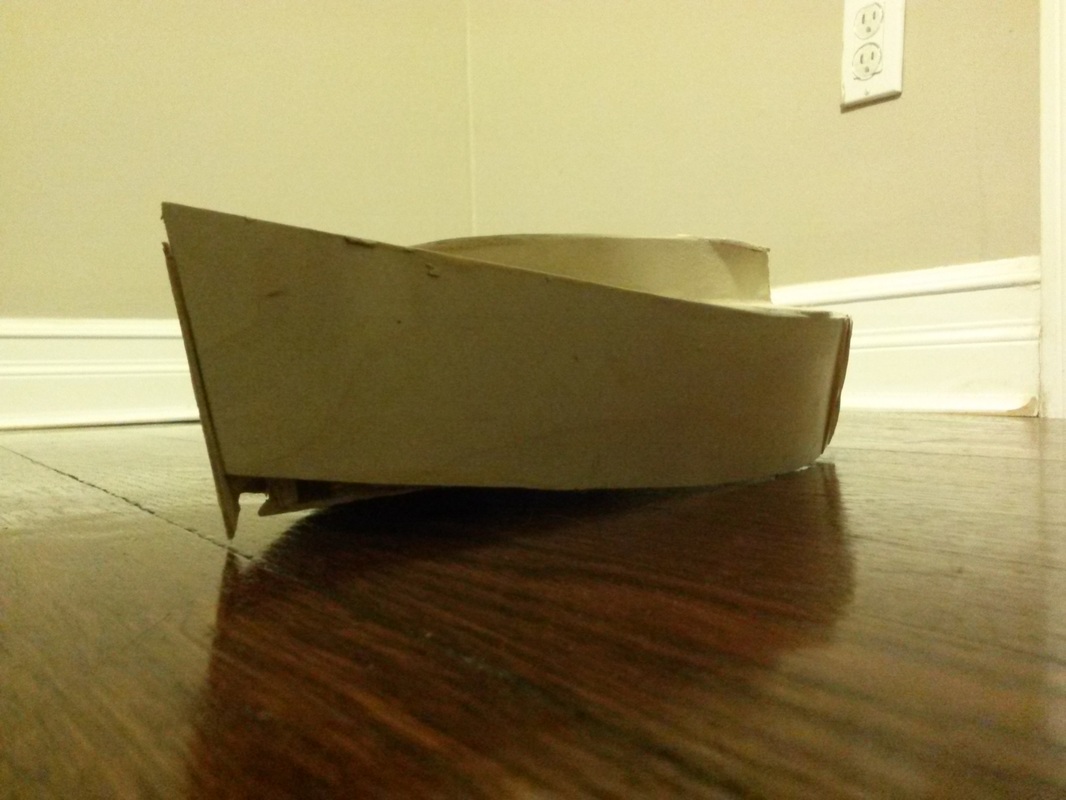
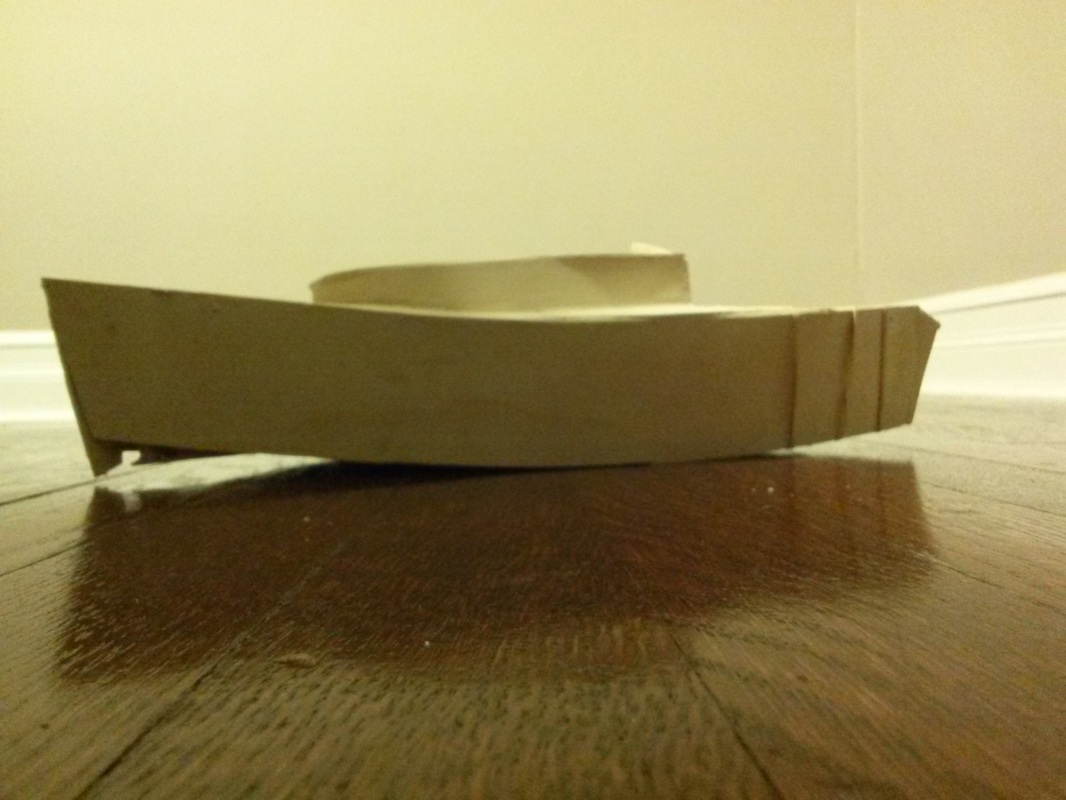
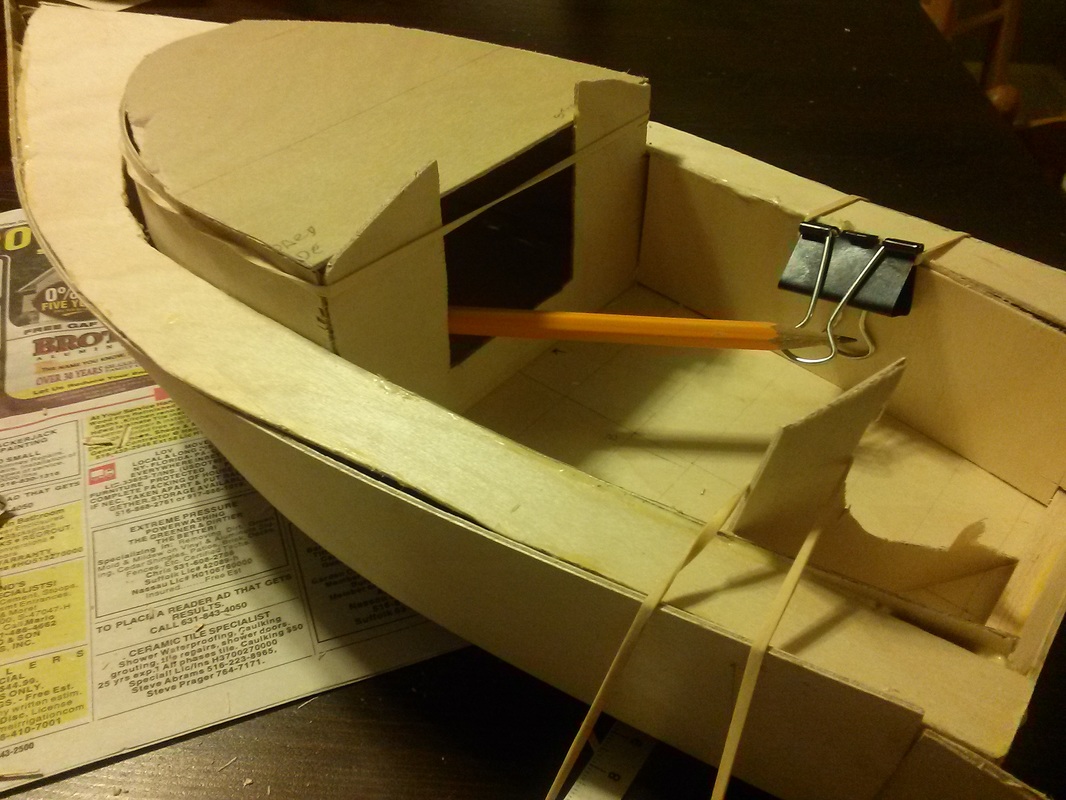
This has been a good experience - building a miniature version of a full-size boat I may consider building. To be clear, I'm building a miniature version of the Stevenson Project's Pocket Cruiser. It is about 18" long. I am basing the miniature version on the paper model version, which is about 6" long. Long story short, I am figuring it out as I go. Consequentially, there are real challenges: I realized last night that I did not put in the mast box (because the paper model does not have one)... now any attempts at putting in a mast require more figuring out. I also realized that I did not put in the stem because I wanted the boat to sit flat. This creates problems in gluing the bow together. Throw in the usual family commitments, work, etc... and I am at the point that I get a glimpse of what it's like to have a partially completed boat, being stuck in the middle of the process, and trying to squeeze time out of a busy schedule to complete the project. I do have a few uncompleted projects around the house - an unpainted portion of wall, a door that needs fixing... most of these things can go unnoticed for years. A 17' boat does not go unnoticed. Here is the latest photo of the miniature Pocket Cruiser: I had to rig a crazy set up with clamps, hack saws, ruler, rolls of tape and paint cans to squeeze together two panels so the paint can dry... 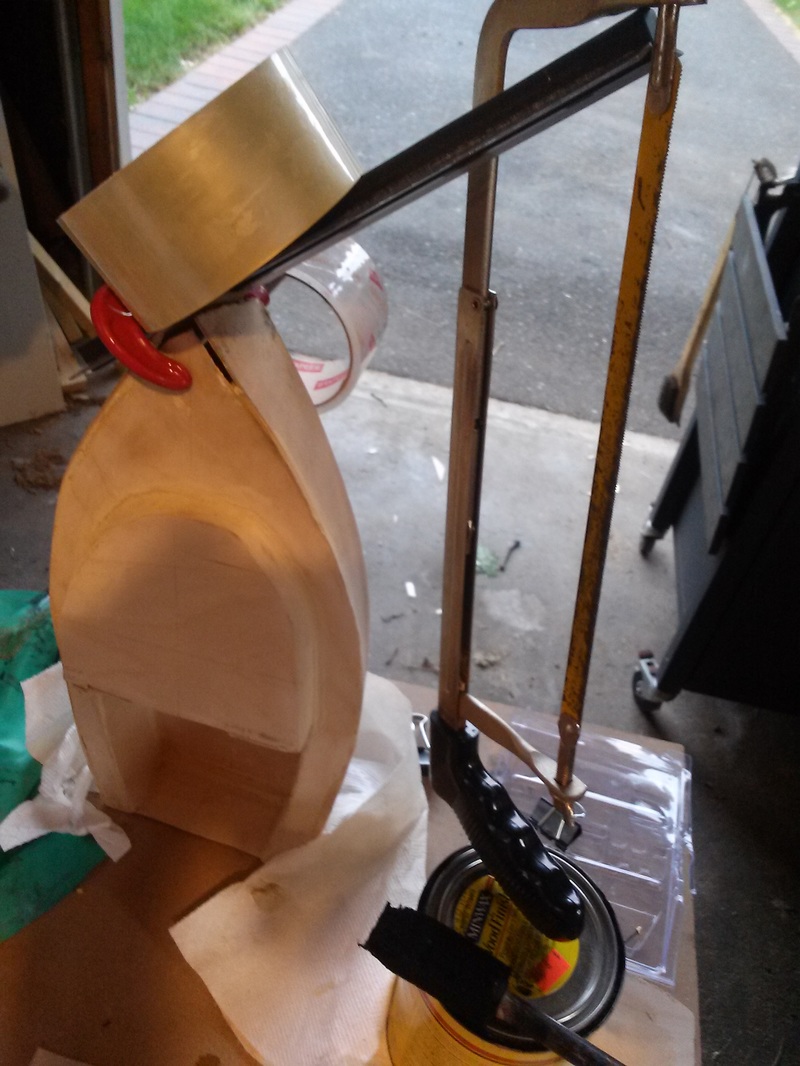 The miniature model of the pocket cruiser has reached a point that the hull is pretty much complete - except for the very tip of the bow. This area has been a problem from the beginning. To be clear, the problem is NOT with the design of the Pocket Cruiser, but a problem with my miniature version. It is very difficult to get the two side panels, the bottom panel and the top panel to hug one another long enough for the glue to dry. I tried rubber bands, small clamps, weights, but nothing really holds it. The only thing that works is me sitting there holding it...
Last night I sat there for about 20 minutes holding one side panel to the bottom panel... waiting for the glue to dry... even then it wasn't a great job... it wasn't even a decent job. I guess this is good mental preparation for the real challenges and delays in building a full-sized boat... Much was done yesterday to the Pocket Cruiser model. The biggest lesson from the work done yesterday was that I should trust my cuts (and by implication, my measurements). Looking at all the misaligned edges of the bow (the bottom panel, the top deck and the 2 side panels), it looked like those pieces were cut with my eyes closed. Then I realized the problem wasn't with the cut; it was with a supporting post I added between the bottom panel and the top deck - something that does not exist in the real boat, but I added because I did not include the stem in the model. The support in the full-size boat is in the stem; I put in a support piece of unspecified length, not taking into consideration its effect on the alignment of the four panels. Once I cut it and removed it, all the pieces fit together pretty snugly.
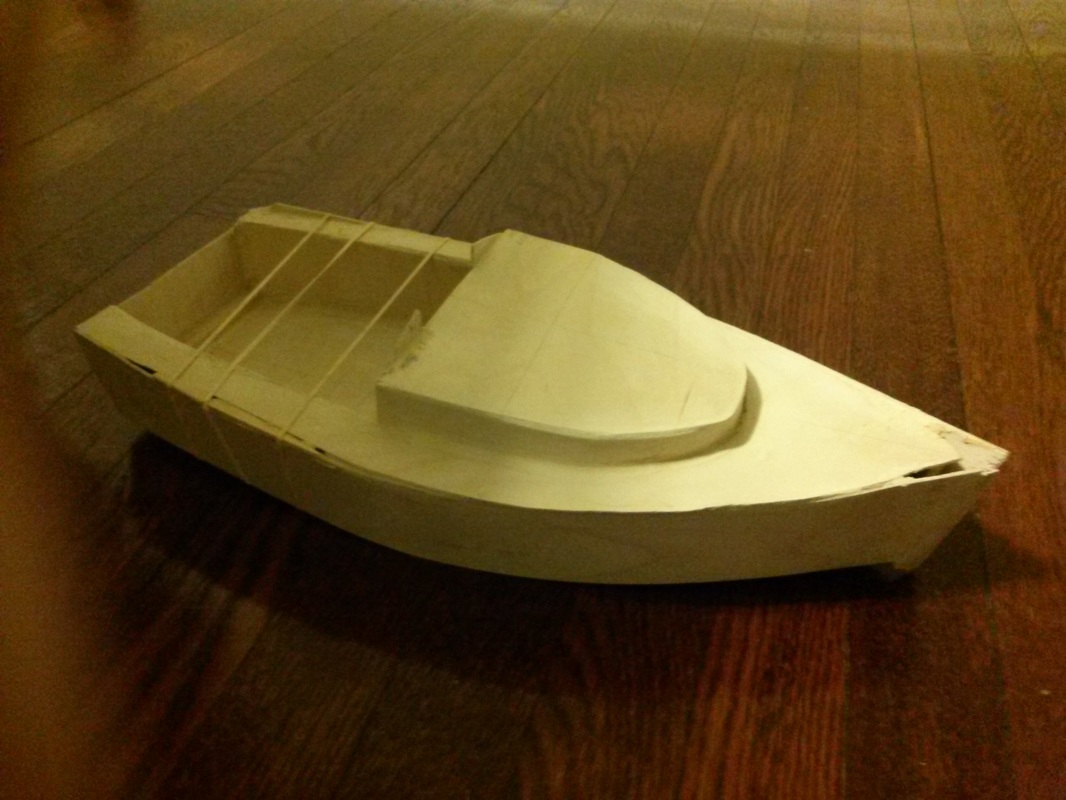
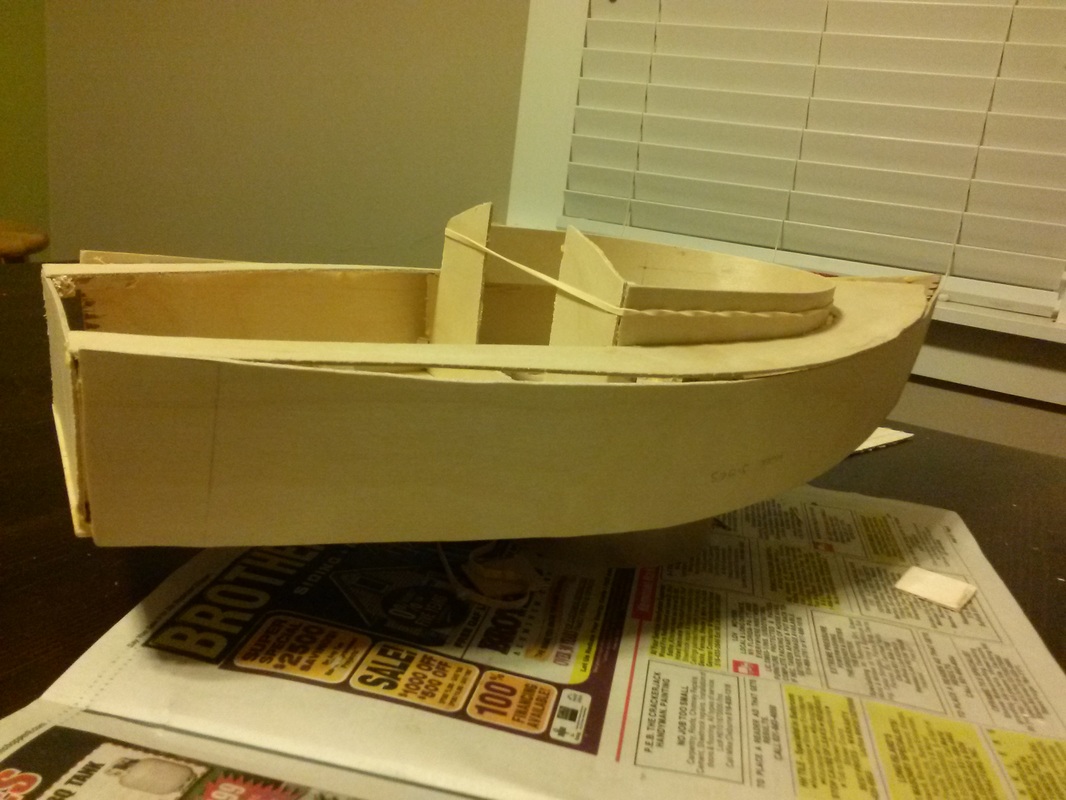
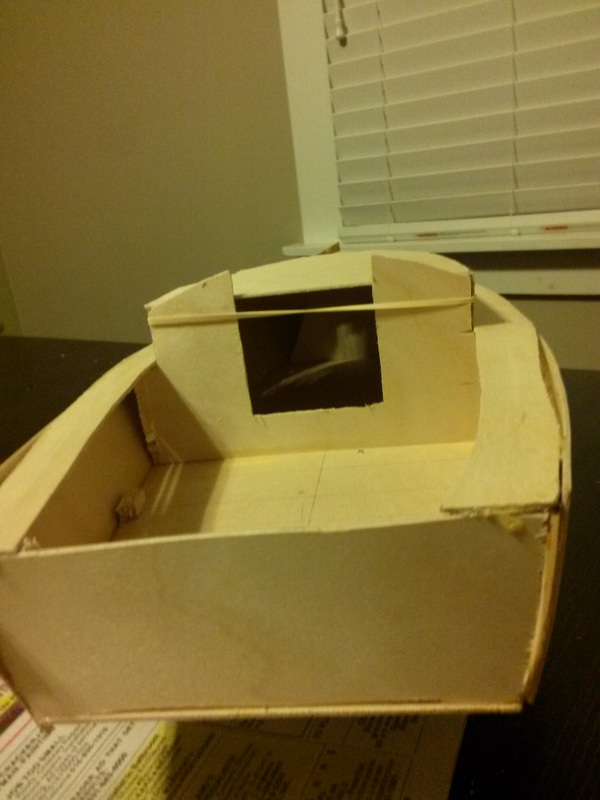
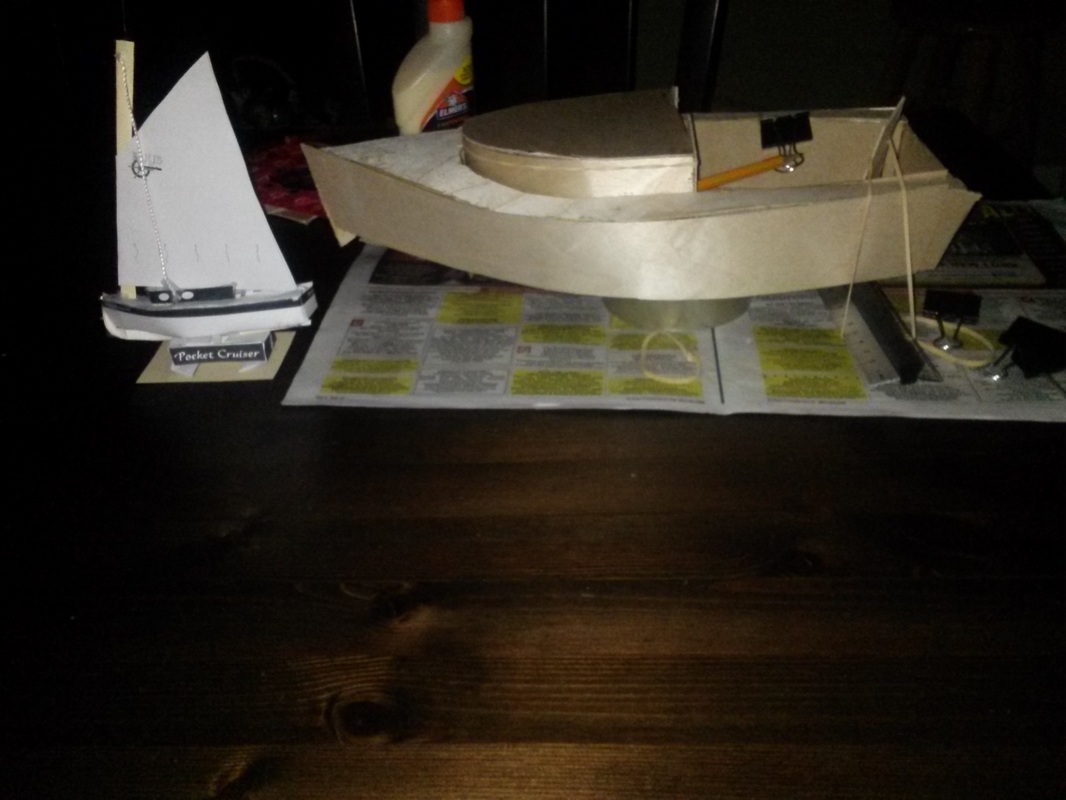
But, gluing them together was another story. I couldn't figure out how to keep the pressure on the panels for the glue to dry. I tried all sorts of things, to no success. Because the boat is completely enclosed now, all the interior tabs that had been used to latch rubber bands on to are now inaccessible. I tried small clamps, binder clips, combination of the three... nothing. Lots of glue, lots of holding... the pieces would just not hold. I put so much glue over several attempts that the panels started looking like they were being damaged. At that point, I just walked away, figuring that in a day or two I would come up with something. I officially started sanding the boat. Most of the gaps, corners & joints were filled in and smoothed out. I believe the term is filleting. While it is far from being done, there are a couple of spots that look really good. The next step is to finish cutting the portions that stick out too far and cover those gaps. The bow will be a huge problem, requiring lots of cutting and joining of pieces that are slightly misaligned. The miniature Pocket Cruiser is getting there! The hull sides have been attached - the very tip of the bow is still a work in progress, but it's getting better. The cabin sides and the cabin top are up. As a design choice, I decided to keep the cabin top flat and I will just trim off the curved part of the main bulkhead. I decided to not put windows. I regrettably did include the entryway in the main bulkhead but did not include the entryway on the cabin top. I might have to seal that if the boat is going into the water. I used a system of rubber bands and binder clips as clamps... There is a shot of the paper model next to the plywood model. I decided there was no way to continue without the hull sides attached. I devised a system of rubber bands and glued support to hold the plywood into its new twisted shape. I'm leaving it like that overnight. Tomorrow is the port side. It is obvious that there are gaps to be filled in later in the weekend. There is one gap that is pretty serious, though. 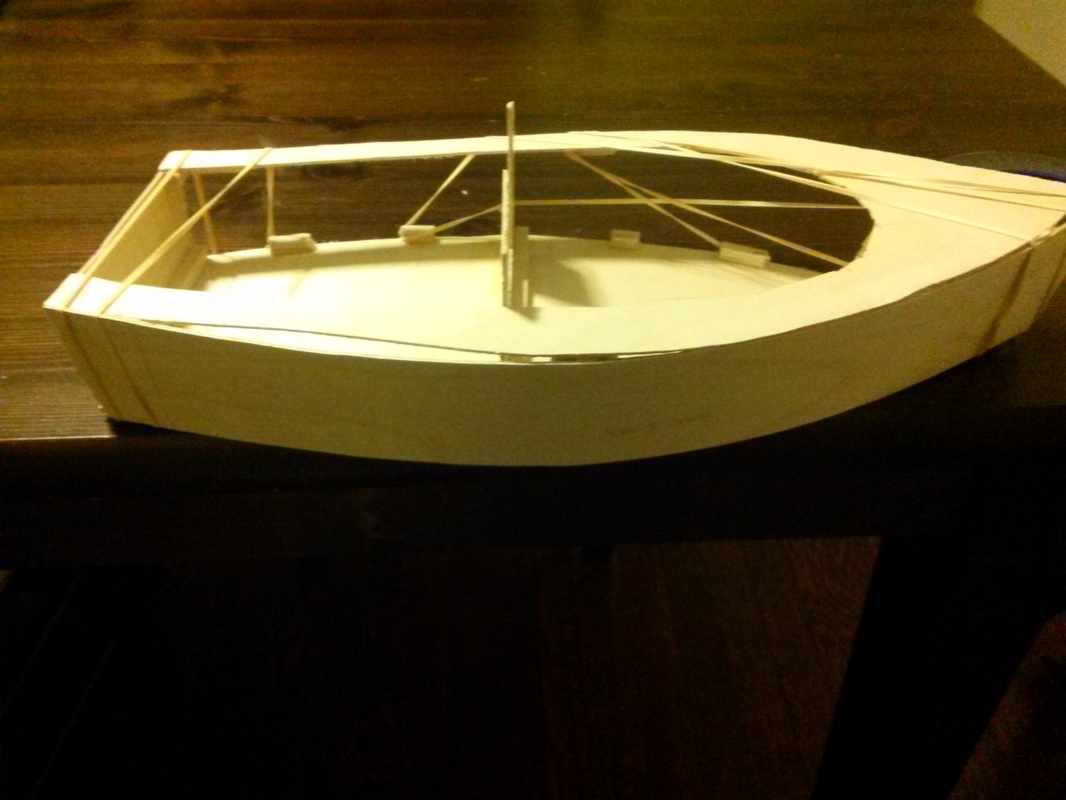 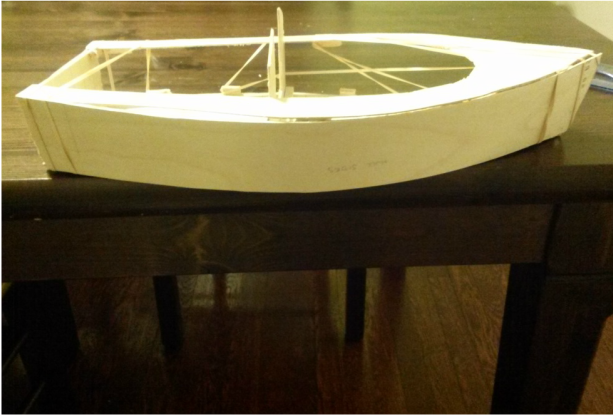 I started to look at the hull sides and how to attach them to the main part of the hull. Unfortunately, they were not cut properly and I'll have to do some clever adapting. My concern is how the sides will stay on. On the full size boat, screws are used. On my miniature model, I'm only using wood glue, which may or many not withstand the pressure of the twisting board.
If anyone out there has any suggestion, please let me know. Yesterday I was able to cut out the top deck and the hull sides for the miniature version of the Pocket Cruiser. The top deck was a pretty good fit after a minor adjustment. The hull sides will need some good attention. Two weeks ago I had the brilliant idea of building a model of the Pocket Cruiser. This model is based on a paper model of the Pocket Cruiser. I did put together the paper model, and then decided to try a slightly bigger version with plywood. Here is the link to the paper models: http://www.stevproj.com/WkndrMdls.html Below are pictures of the boat so far: |
ArchivesCategories |

 RSS Feed
